Why Is My Car Shaking?
Being stranded on the side of the road with no auto repair shop in sight is an unpleasant experience that nobody enjoys. Regular vehicle maintenance can often prevent these situations. While it’s natural for some parts to deteriorate over time, investing in routine maintenance can help you avoid costly repairs for bigger issues.
Vehicle shaking is a common issue for many drivers, occurring during acceleration or braking due to certain common causes.
5 Reasons Your Car May Be Shaking
1. Engine Problems
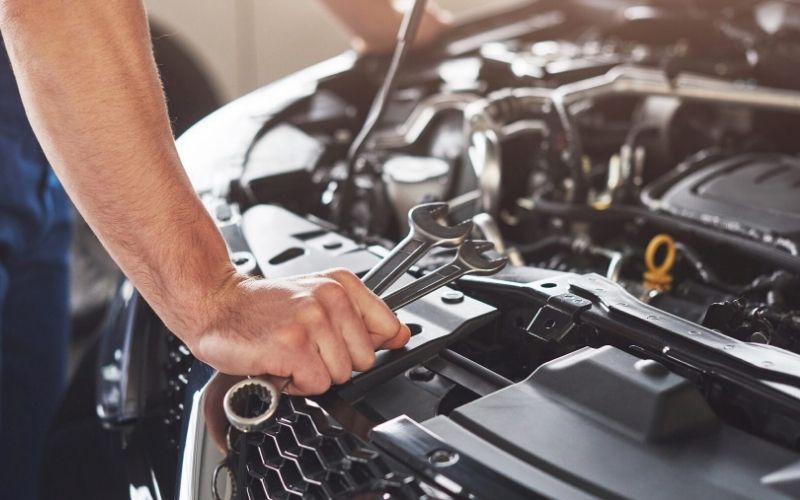
Several components in a vehicle’s engine can cause to shaking if they fail, such as the spark plugs and engine air filter. Begin by inspecting the spark plugs and their connections, typically lasting around 80,000-100,000 miles. If the spark plugs are in good condition and properly connected, move on to examining the air filter. A dirty or blocked air filter can restrict the engine’s access to oxygen and fuel required for optimal performance.
2. Brake Problems
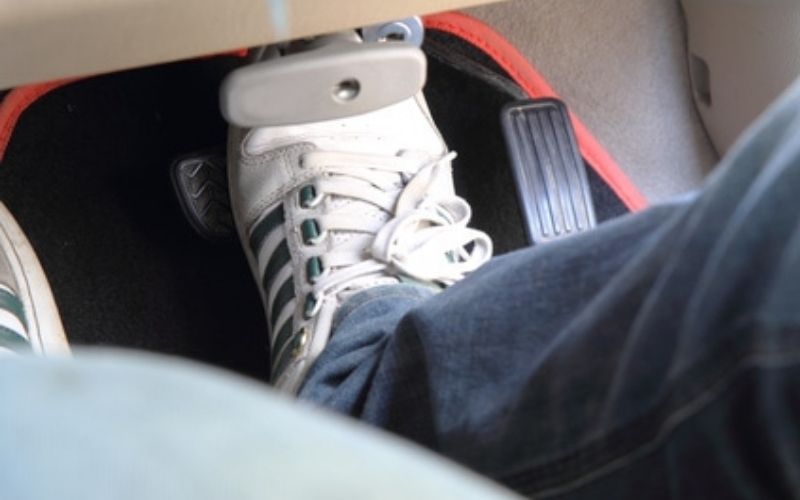
If you are experiencing vibration when braking, the problem may be related to your car’s front brake mechanism because the front brakes exert the most pressure when the car brakes. There are parts on front disc brakes that need to be replaced every time – namely the pads and rotors. The rotor is a round metal disc that is attached to the wheel. Over time it can be damaged by heavy wear and tear. There are pads that press against the rotor to slow the vehicle down and these pads need a certain thickness to work properly. If the pad is worn too much, it can cause the vehicle to vibrate. The caliper helps squeeze the pads against the rotor to slow and stop the vehicle. All vehicles have different timelines for when brakes need to be replaced. On average, they should be replaced every 50,000 miles but many makes and models can last longer. Consult your vehicle owner’s manual for a more accurate timeline for replacement. Also, every time you get an oil change, have your mechanic visually check the condition of your pads and rotors. These professionals can give you a better idea of when a change is necessary.
3. Axle Problems
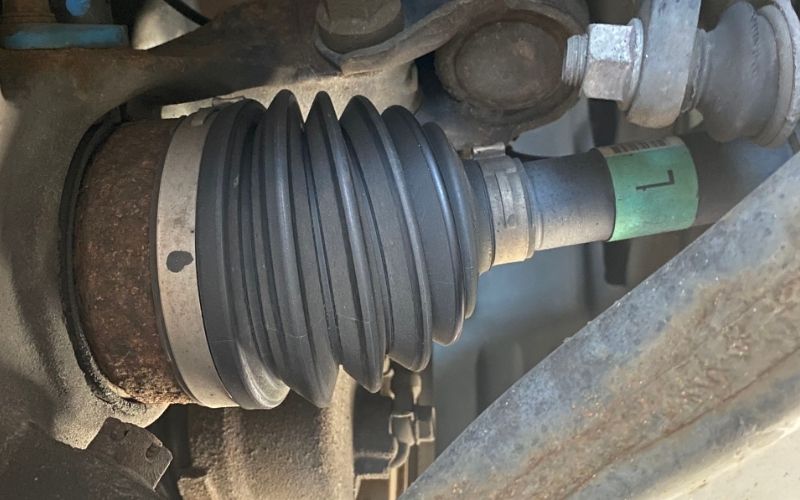
Most vehicles have 2 axles – one that connects the front wheels, and one that connects the rear wheels. Vibration can occur if one of the axles is bent or dented – which can happen in a road accident or other accident – and the vibration will usually increase in intensity because if your If the problem is related to Excel, you will speed up. Also inspect the CV joints and drive shaft for possible problems. If CV joints are worn, it can release dust and other debris that can damage the joints.
4. Wheel Problems
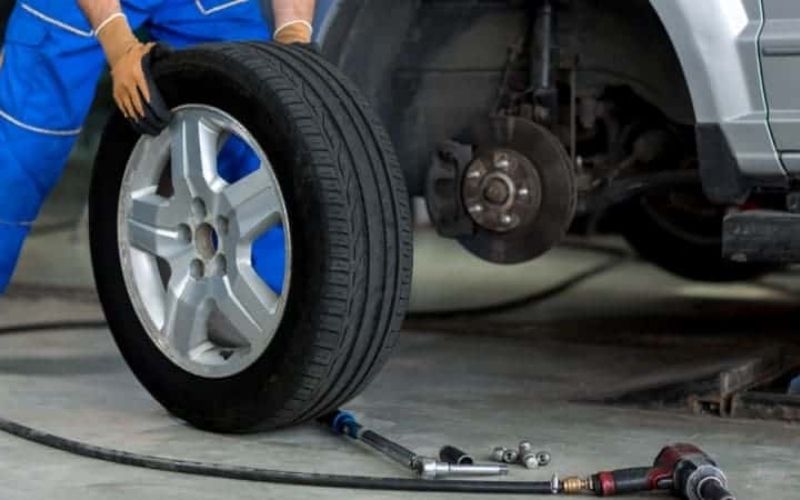
If your steering wheel feels wobbly or wobbly when you drive, it could also cause vibration problems and could mean one of the wheels isn’t turning properly, or This can be related to wheel bearings, tie rod ends or ball joints.
5. Tires
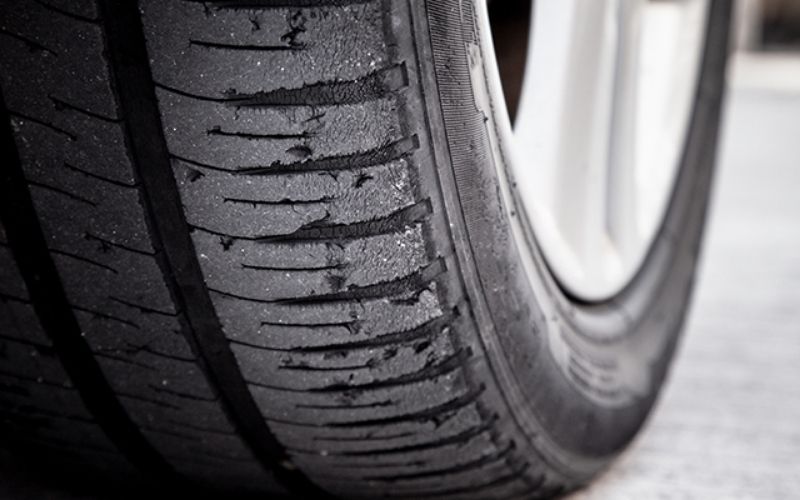
Depending on the specific type of vibration the driver is experiencing, the problem may be related to the tires and can be addressed in a number of ways. If vibration is felt at certain speeds, the tires may need to be balanced. If the tires are unevenly worn and causing the car to shake, the driver may need to rotate the tires. In some cases, the driver may need new tires to fix the vibration problem.
How To Fix It?
Wheels Balancing

As a driver, an unbalanced wheel is undoubtedly the most annoying problem. Not only does your vehicle vibrate, but drivers can also suffer accidents due to uncontrolled movement. Again, each problem has its own way of solving it. Understanding the wheels can help you fix them yourself.
With A Balancer
Along with the bubble balancer, there are a few tools you may need to carry with you:
- A flat-end screwdriver
- A jack
- A lug wrench
Remove The Wheel Weights
Before rebalancing your wheels, you already have different weights on your wheels. So it is wise to take them all out to balance them more accurately.
Remove The Wheels
After removing all the weight, the driver can now remove the wheels. Be careful because the wheels are heavy so you may need help.
Clean The Wheels
Before balancing the wheels, we recommend cleaning all dirt from the wheels. Drivers should pay attention to cleaning the rims and tires. Wash them with water to get extra clean during balancing, and remember to let them dry.
Balance The Wheels
Many car owners here have seen a balancer at least once, but only a few of you actually know how to manage it. To make the balance work, you just need to turn it on and put the wheel on it. If you want to use dynamic balancing, you need to spin the wheel. On the other hand, if drivers use static balancing, just wait until the tires return to the stationary position and it’s all done.
Mark The Spots And Put The Weight Back On
Don’t forget to use chalk to mark the spots. These points are places for drivers to put weight in case of unbalanced wheels.
Next, the wheel weighs its position. This will help the wheel stay in proper shape.
Recheck And Adjust The Wheels
After the connection, it’s time to make sure everything is in order: recheck and adjust the wheel balance. You should ensure that the movement is smooth enough. If they stay in perfect line and move forward without any problems, you’re good to go.
Wheels Back To The Position
Last but not least, car owners should tighten the nuts, and lower the jack to set the wheels in position.
Without A Balancer
Even without a machine, drivers can still balance the tires themselves. Yet it can be very difficult at times. Also, to do this, you may need a lot of tools to remove weights and wheels.
Remove The Weights And Debris
To balance the wheel and prevent the car from shaking, you need to find out which wheel may be causing it. After that, run all the weights and debris for the next step. We also recommend cleaning the wheel before doing anything else.
Re-Install The Weight
This step is based on pure experience: you can install the weight upwards, then rev the car from 0 to the speed at which your car starts to shake. If the vehicle still vibrates, shift the weight 45 degrees to the right from this position. Then speed up.
Solve The Problem
Continue with this at least 3 times, and eventually, you will get the spot. Rear tire imbalance in particular can be unusual when it’s in the rear, so it’s very easy to spot. Drivers can then add more weight and perfect the balance.
Spark Plugs
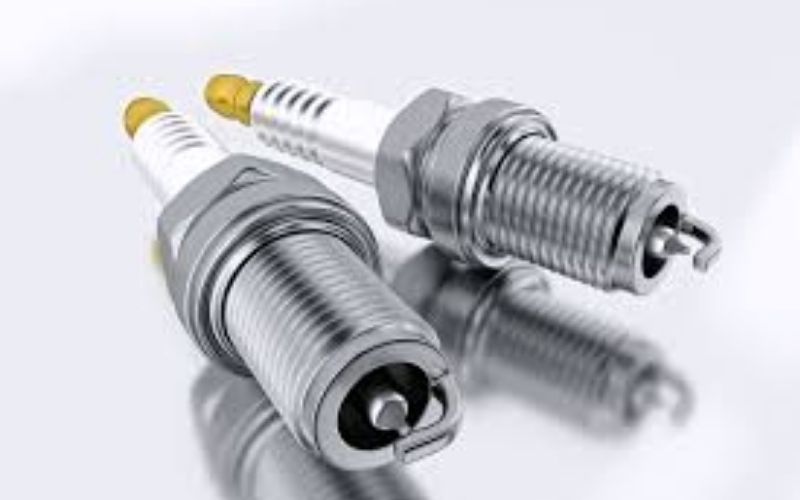
Spark plug is one of the important parts of a car as it controls the working function of petrol and LPG powered cars. It channels and ignites the fuel. When it breaks, your car shakes and faces many problems. And like all other parts, they wear out over time and can be easily repaired. Here’s how we can repair them:
OLD SPARK PLUGS
You need to find the spark plug in your vehicle. To do this, first you need to open the bonnet of the car. Spark plugs are usually located on the engine end of a 4-8 wire bundle under the plug cover.
On a 6-cylinder engine, the spark plugs can be found on the top or side of the engine head. Whereas on V8 and V6-cylinder engines, they are evenly spaced on the sides of the engine. On a 4-cylinder engine, they are located on the top or side of the engine, but in one row.
In some four-wheel-drive vehicles, you’ll need to remove parts to see the spark plug wires, then trace them back to find the plugs. We recommend that you also check the gap and inspect the wires for damage when tracing the plugs.
Remove The Spark Plugs
Always remember to let your car cool down a bit before attempting to remove the spark plug. If your car has been running for a while, the entire engine and plugs can become extremely hot. Drivers can collect their tools while waiting.
First, grab the wire plug from the bottom and pull, this will expose the plug. You should not jerk the wire to pull it out as this will ruin the spark plug lead. Next, drivers should fit their socket wrench against the bar, and then use a ratchet to gently remove the plug.
Measure The Gap Of The Spark Plugs
Although most plugs these days are preset according to the application and model number, a double check is always important.
If the plug gap distance is greater than this, you can buy a new plug, or try replacing the gap. To do this, gently tap the wooden surface of the plug with the gauge until it reaches the correct measurement. However, we recommend a replacement after every 20000 km, as it is not that expensive and you can replace them periodically for hassle-free motoring.
Install New Plugs
As a good driver, the first thing you need to do is make sure the plugs are correct. There are thousands of different combinations of measurements and spark plugs, from size to price. So if you are not sure, share the information with auto parts dealers for advice.
To install the plugs, use a spark plug socket to remove each plug from the engine. Drivers can then insert each hole with a new plug. Remember not to over tighten them as you can strip the engine head thread, which can cost a lot of time and money to repair.
To set up the ratchet, drivers can purchase torque specifications for the plug only in the service manual. Next, if the car owner has an aluminum engine, we recommend using an anti-seize lubricant on the plug threads. A small amount of dielectric silicone is also necessary to make plug removal easier. However, drivers should remember to put the spark plug wire boot back on the plug, otherwise you could cause the engine to misfire.
Worn Tie Rod Ends
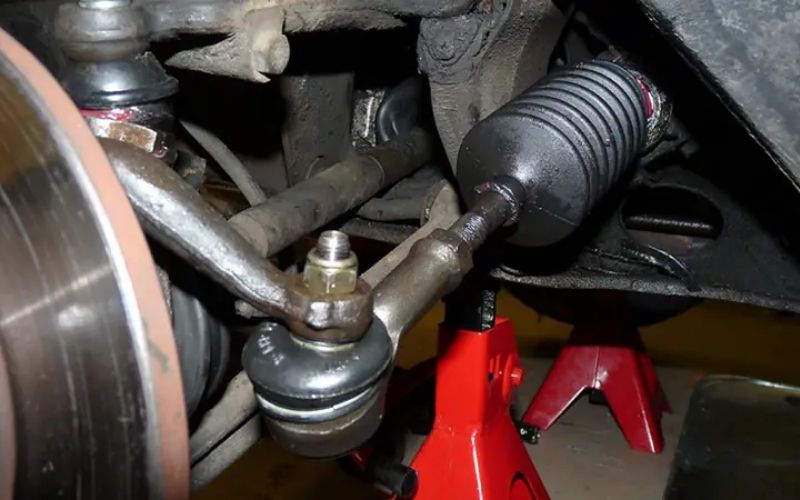
With every driver, tire rod ends are incredibly important to driving. Needless to say, it is an integral part of the vehicle mechanism. So, if your car is shaking, you know it’s time to get a new tire rod end. For this reason, knowing how to replace this part, however, can be done by almost anyone.
Tie Rod End
To access the end of the tie rod, drivers must loosen the front tires slightly, and then raise the front end with a floor jack, as it is dangerous to leave the car hanging on the jack.
Next, remove the wheel to locate the outer and inner tie rod ends.
Remove Tie Rod End
First, car owners should loosen the pinch nut, which holds the outer tie rod end in place and prevents unexpected impacts. This loosening allows drivers to bend the end of the outer tie rod.
Second, move the nut up to touch the end of the outer tie rod.
Third, drivers can now remove and discard the cotter pin. It is impossible to reuse this part. After the cotter pin, the castle nut is the next part to be pulled out. This is the nut that the cotter pin passed through and connected the steering nose and tie rod end.
Fourth, remove the outer tie rod end from the steering nose and the inner tie rod end. We recommend using a ball joint separator or tie rod puller.
Last but not least, remove the inner tie rod end. To do this, use a pair of pliers to remove the clamp from the boot, and break off the clip on the far side. Next, turn the inner tie rod end counterclockwise and pull it off the vehicle.
Replace Tie Rod End
After removal, drivers can check to make sure the new tie rod end is comparable to the old one. If they are the same length, shape and size as they should be, they are ready to replace and install the tie rod ends.
After the comparison, you can now thread the end of the inner tie rod into the steering gear and slide the boot back onto the rod. It is important to thread the punch nut, tighten the castle nut back, and replace the cotter pin after connecting the tie rod end to the steering nose as this will secure its position. After that, you can start changing the wheel and lower your car back to the ground.
Clogged Transmission Filter
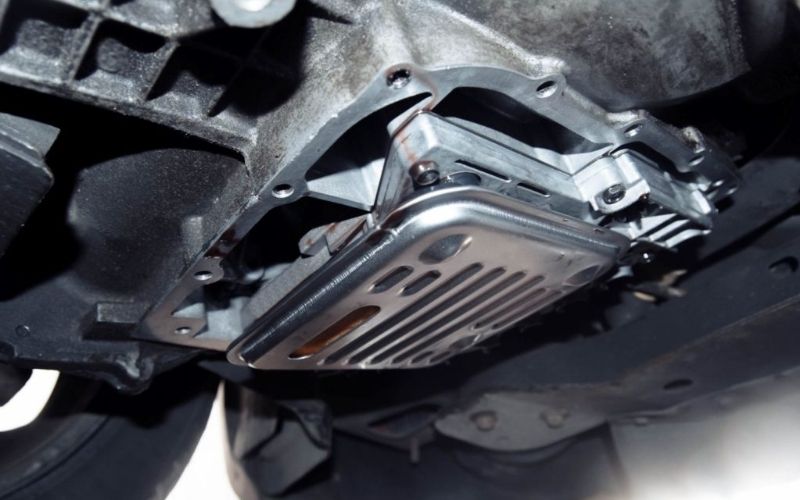
Every time you go to a car manufacturer you should hear this: Change the transmission filter every two years or 30,000 miles. This is true because you can also replace the transmission pan gasket with the transmission fluid. But more importantly, it can block transmission filters. In a situation where you can’t go to a car mechanic, here’s how you can fix this car shaking problem:
Lift Up The Vehicle
This action is to protect your vehicle while you are working down. Use a car jack to raise your four-wheeler and place it on jack stands.
Drain The Fluid
To drain the fluid, a bucket or container is the tool you need: Place it under the transmission drain plug to collect the fluid.
Remember to use your socket wrench for easy work. It also allows the transmission to flow out completely.
Clean The Pan
Then remove the bolt and old gasket seal from the pan. You can use a scraper to scrape off any dirt or debris around the edges as this is where you seal the new gasket.
Install New Pan Gasket Seal
A layer of gasket sealer may be used to apply to the gasket. And now you can easily install a new pan gasket seal on the transmission.
Change Transmission Filter
To do this, drivers must first remove the bolts holding the filter in place. Drivers can also use a flathead screwdriver to remove the old transmission filter.
Replace the new filter with the old filter and you can clip it into place.
Low Transmission Fluid
One of the most common car vibrations is definitely low transmission fluid. Transmission fluid plays an important role in determining whether or not your car vibrates. To fix this problem, you just need to apply fluid to the transmission, which can easily be done by yourself:
Engine Idle
Many car owners add transmission fluid while the vehicle’s engine is running. However, for safety reasons, the transmission must be in park with the handbrake engaged.
Add Transmission Fluid
Before adding, remember to check the manual for instructions on the correct amount of liquid to use. There are many types of transmission fluid with different specifications for the engine.
Pour The Fluid Into The Transmission
Don’t forget to use a funnel in the dipstick hole to avoid overfilling.
If you notice that the fluid level on the dipstick is low, the driver can start with half a quart. Then, check the level again and add a quarter quart until the level is at maximum.
Depress The Brake And Run The Transmission
By doing this, we can circulate all the transmission fluid as well as ensure that car owners are getting the correct reading.
Return The Dipstick
Last but not least, remember to put the dipstick back in the transmission hole. You may need to twist or press a latch to lock it in place. After that, you have fixed your car’s vibration.
For More Articles: rowemotorcars.com

